As spring sets in, HVACR systems are coming out of their slower winter cycles and gearing up for the summer load. Now is the time for pre-season coil prep: Taking steps to inspect, clean and maintain coils before high cooling demand hits. Proper preparation not only ensures optimal system performance but also reduces energy consumption, prevents unexpected breakdowns and extends equipment lifespan.
Pre-season coil prep goes beyond a routine cleaning. It’s a strategic inspection that identifies potential problem areas before they impact efficiency.
Why Coil Prep Before Summer Matters
Evaporator and condenser coils are the backbone of a system’s heat exchange. Evaporator coils absorb heat from indoor air, while condenser coils release heat outdoors. When coils are dirty, efficiency drops, airflow is restricted and the system works harder to meet load demands.
Pre-season preparation differs from reactive cleaning because it’s preventative, addressing minor buildup, damage or airflow restrictions before summer spikes. By prepping coils now, technicians can ensure systems perform at peak efficiency when it matters most.
Coil Prep Checklist for Peak Summer Performance
Follow these essential steps to get coils ready for peak summer performance.
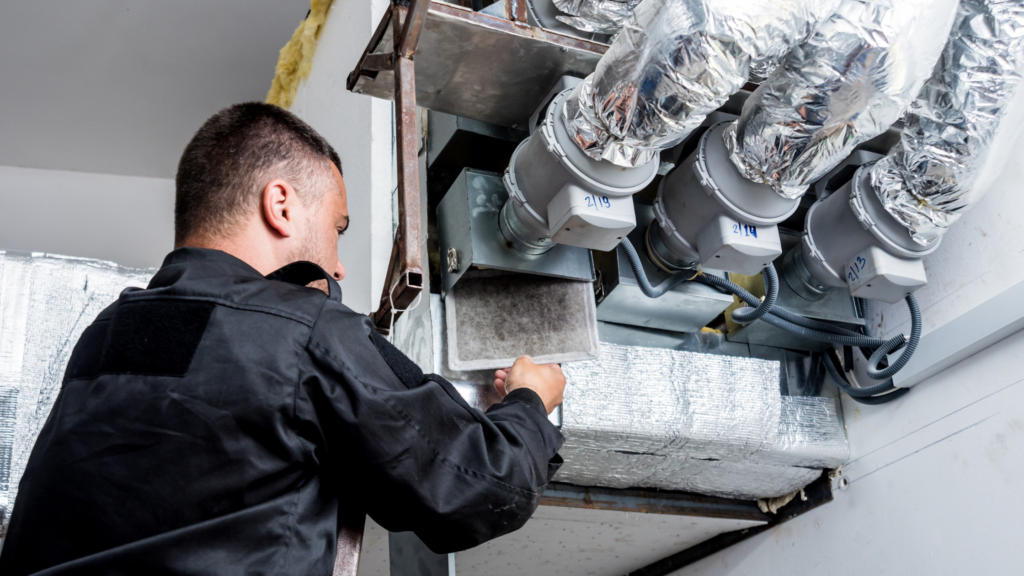
Step 1: Coil Inspection Before Cleaning
A thorough visual inspection is the first step. Look for:
- Dust, dirt or grease buildup on fins
- Discoloration or corrosion on metals
- Bent, crushed or damaged fins
- Moisture streaks, mold or bacterial growth
Focus on high-risk areas, such as tight spaces, microchannel coils and commercial kitchens where grease and debris accumulate quickly. Using inspection tools like flashlights or cameras helps identify issues that aren’t immediately visible. Fin combs can then be used to correct bent fins and restore proper airflow.
This step allows technicians to prioritize upkeep and maintenance, ensuring time and effort are applied where they’re most needed. Untreated dirt and debris can severely reduce efficiency.
Step 2: Cleaning Techniques
Once inspection identifies trouble spots, it’s time to clean. Choosing the right method and cleaner is critical:
Indoor Evaporators:
- Use enzyme-based cleaners like Viper® EVAP+ or Venom® Pack Evaporator.
- These remove stubborn dirt while eliminating odors caused by bacterial growth.
- Non-rinsing formulas save time and reduce the risk of water damage indoors.
Outdoor Condensers:
- High-foaming products like Venom Pack Condenser or Viper Heavy Duty liquefy embedded grease, dirt and pollen.
- For severely neglected coils, a brightener like Venom Pack Brightener or Viper Brite restores metal surfaces and heat transfer efficiency.
Application Techniques:
- Foam sprays, aerosols or can reach tight spaces.
- Allow dwell time for deep cleaning.
- Use expanding foam or pin-spray aerosols for maximum penetration between fins.
- Always wear PPE—even with non-toxic, low-odor formulas—to protect eyes, skin and respiratory health.
The goal is efficient, safe and targeted cleaning so the system is ready for the summer load without overworking components.
Step 3: Coil Straightening and Fin Maintenance
Even cleaned coils can underperform if physical damage restricts airflow. Inspect for bent or crushed fins and use fin combs or straightening tools carefully to avoid further damage.
Special caution is needed for aluminum and microchannel coils as improper handling can reduce lifespan. Maintaining proper fin alignment ensures optimal airflow, which is essential for heat transfer and system efficiency.
Step 4: Airflow and System Checks
Pre-season coil prep isn’t just about the coils themselves. Technicians should check the surrounding system to ensure optimal airflow:
- Inspect and clean fans, dampers and filters
- Remove obstructions around condenser coils (leaves, grass, debris)
- Test airflow before and after cleaning to confirm improvements
Proper airflow prevents compressor strain and ensures that the system can handle peak summer loads without efficiency loss.
Step 5: Going Beyond Basic Cleaning with Optional Advanced Techniques
For systems prone to heavy buildup or odor, consider advanced pre-season techniques:
- Residual bacterial control: Enzyme-based cleaners like Viper EVAP+ continue working for up to 72 hours.
- Deep-cleaning concentrates: Viper Heavy Duty handles stubborn, embedded grime on heavily soiled coils. For extreme cases where buildup has significantly degraded heat transfer, Viper Brite can help restore coil surfaces — but brightener should be reserved for situations where standard cleaning hasn’t achieved the needed result, not used as a routine step.
- Aerosol injectors: Ideal for compact or hard-to-reach microchannel coils.
These methods save time, ensure cleaner coils and enhance system efficiency before high-demand summer operation.
Scheduling and Preventative Maintenance Tips
Regular pre-season preparation should be part of every technician’s calendar:
- Conduct spring inspections and cleaning before summer peaks.
- Adjust maintenance schedules based on environmental factors like pollen, grease and humidity.
- Document coil condition, cleaning products used and any repairs made
A structured schedule ensures no coil is overlooked and allows proactive maintenance rather than reactive fixes.
Prepare Now, Avoid Problems Later
Spring is the optimal window for pre-season coil prep. Thorough inspections, targeted cleaning, fin maintenance and airflow verification ensure systems are ready for high summer loads. Proactive preparation reduces energy consumption, prevents emergency repairs and prolongs equipment life. Using professional-grade tools like Viper Venom Pack cleaners allows HVACR techs to get maximum performance with minimal downtime.